

How to Download and Set Up Kali Linux in VirtualBox (Step-by-Step)

How to Download and Set Up Kali Linux in VirtualBox (Step-by-Step)
Kali Linux is the industry-standard Linux distribution for penetration testing, ethical hacking, digital forensics, and cybersecurity training. Running Kali inside VirtualBox is the safest and cleanest way to learn, no risk to your main OS, no messy dual-boot issues.
This guide covers:
What you need before starting
Two installation methods (Easy & Manual)
Common mistakes and fixes
Post-installation best practices
What You Need Before Starting
Make sure this checklist is 100% done before you start:
System Requirements (Minimum)
64-bit CPU (Intel or AMD)
8 GB RAM (4 GB works, but painfully slow)
40 GB free disk space
Virtualization enabled in BIOS (for most latest laptops it will be enabled by default)
Software Required
VirtualBox
Kali Linux (prebuilt image or installer ISO)
How to Check If Virtualization Is Enabled (Before Installing VirtualBox and Kali)
VirtualBox will not work properly unless CPU virtualization (Intel VT-x / AMD-V) is enabled. Check this first, don’t skip it.
Press Ctrl + Shift + Esc → open Task Manager
Go to the Performance tab
Click CPU
Look at the bottom-right
You should see:
Virtualization: Enabled
If it says Disabled, VirtualBox will not show 64-bit options.
Step 1: Download and Install VirtualBox
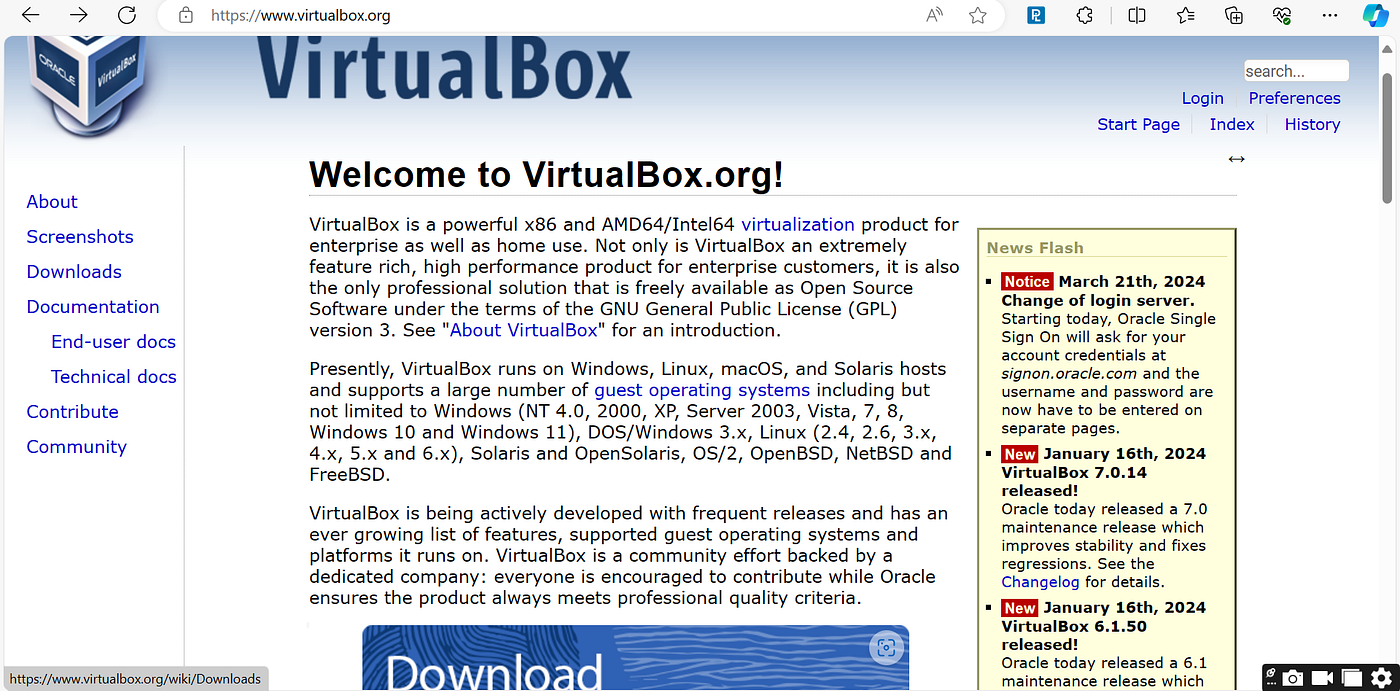
Go to the official VirtualBox website
Download VirtualBox for Windows hosts
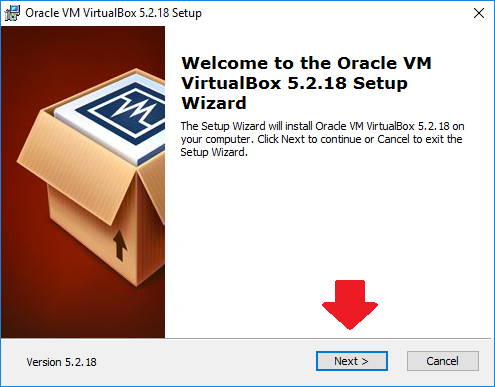
Run the installer
Keep all default options enabled
Allow network driver installation when prompted
Restart your system after installation
If VirtualBox doesn’t show 64-bit options later, your virtualization is disabled in BIOS.
Step 2: Choose How You Want to Install Kali Linux
You have two ways. Pick one based on your goal.
Option A (Recommended): Pre-Built Kali VirtualBox Image
Fastest
No manual installation
Perfect for beginners, workshops, labs
Option B: Kali Installer ISO
Manual Linux installation
Useful if you want to learn Linux internals
More chances to break things
If you’re learning cybersecurity, go with Option A.
Option A: Install Kali Using Pre-Built VirtualBox Image (Easy Method)
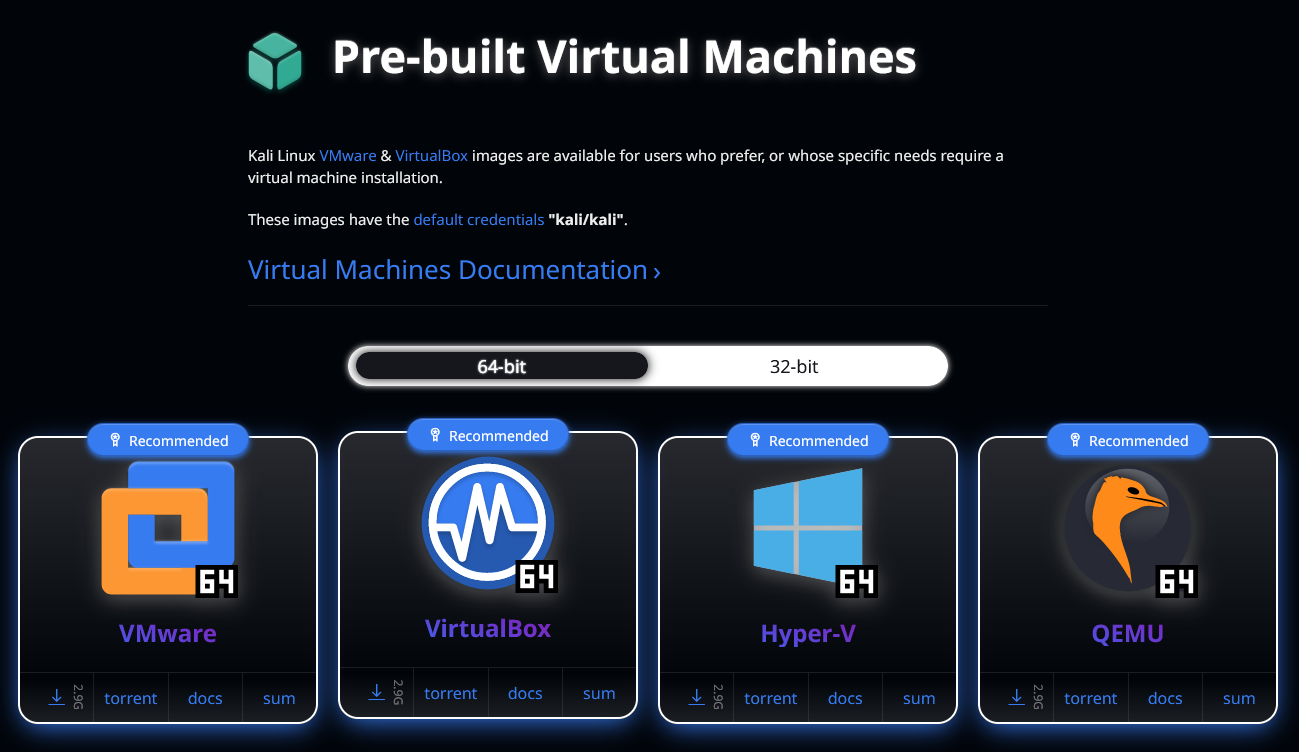
Step A1: Download Kali VirtualBox Image
Go to Kali Linux official downloads
Choose Installer → Virtual Machines
Download Kali Linux VirtualBox Image (64-bit)
File size: ~3–4 GB
Format:
.7z
Step A2: Extract the File
Right-click → Extract using 7-Zip or WinRAR
You’ll get a
.vboxfile and virtual disk files
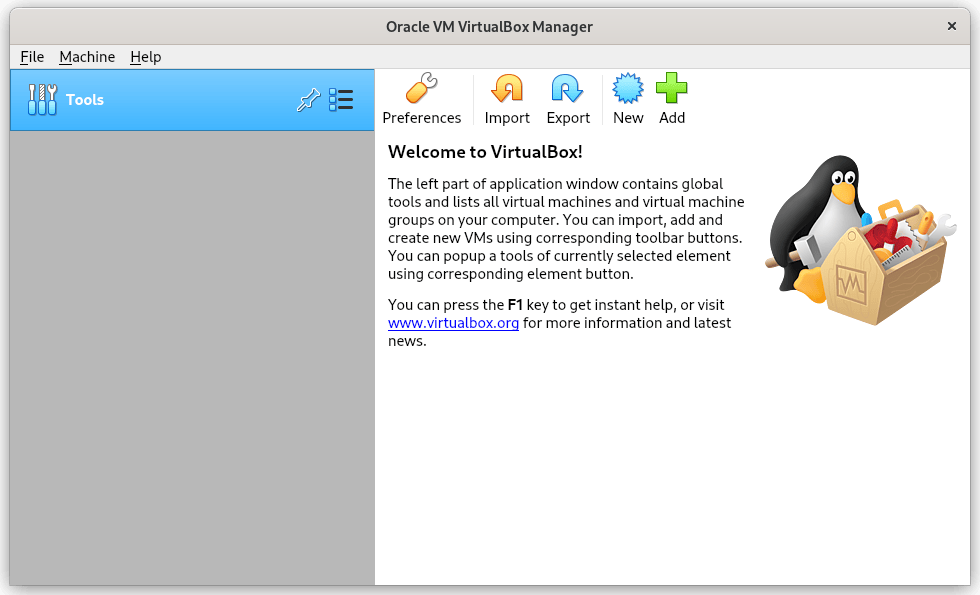
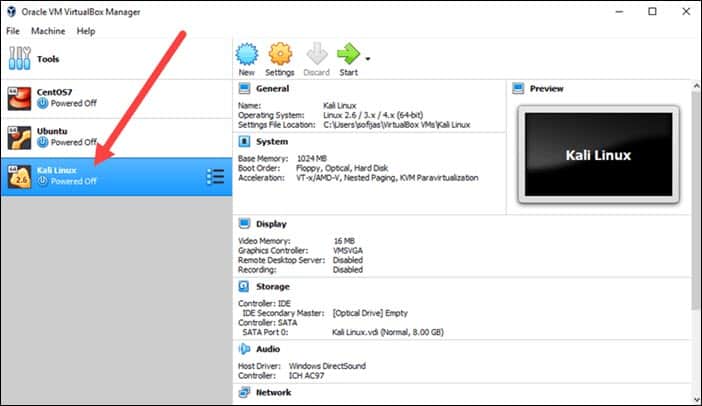
Step A3: Import into VirtualBox
Open VirtualBox
Click Machine → Add
Select the
.vboxfileKali VM appears in the list
Step A4: Adjust VM Settings (Important)
Before starting Kali:
System → Motherboard
RAM: 4096 MB (minimum)
Boot Order: Optical → Hard Disk
System → Processor
CPUs: 2 or more
Enable PAE/NX
Display
Video Memory: 128 MB
Graphics Controller: VMSVGA
Step A5: Start Kali
Click Start
Login credentials:
  username: kali
  password: kali
✅ Kali is ready to use.
Option B: Install Kali Using Installer ISO (Manual Method)
Step B1: Download Kali Installer ISO
Download Kali Linux Installer (64-bit)
File size: ~4 GB
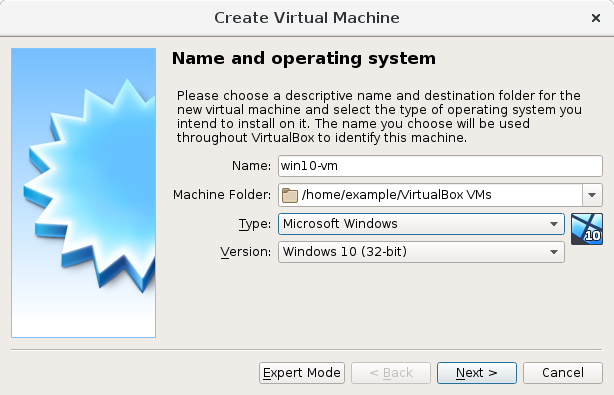
Step B2: Create New VM
Open VirtualBox → New
Name:
Kali LinuxType:
LinuxVersion:
Debian (64-bit)
Step B3: Allocate Resources
RAM: 4096 MB
CPU: 2
Disk: VDI → Dynamically Allocated → 40 GB
Step B4: Attach ISO
Settings → Storage
Under Controller IDE → Empty
Choose Kali ISO file
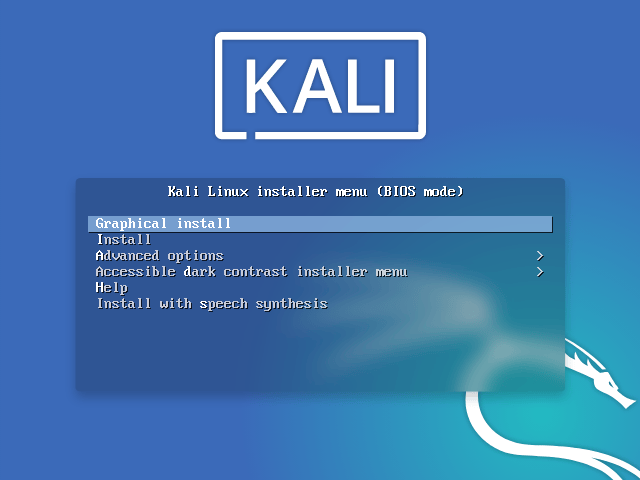
Step B5: Start Installation
Start VM
Select Graphical Install
Choose:
Language
Location
Keyboard
Network: Auto (DHCP)
User setup:
Username:
kaliPassword: set strong password
Partition:
- Guided → Use entire disk → All files in one partition
Install GRUB → Yes → Select disk
Step B6: Finish Installation
Remove ISO after installation
Reboot
Login to Kali
Step 3: Install VirtualBox Guest Additions (Mandatory)
Without this, Kali will:
Lag
Have low resolution
No fullscreen
No clipboard sharing
Installation Steps
Start Kali
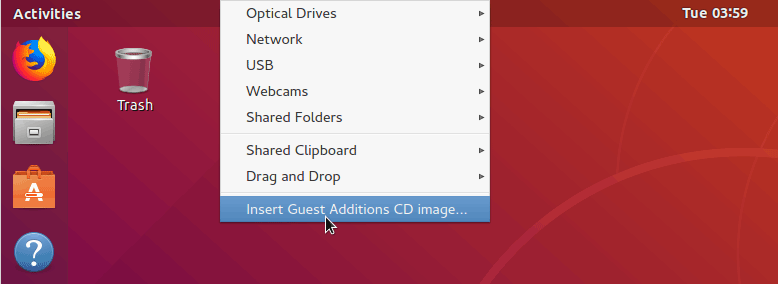
Menu → Devices → Insert Guest Additions CD Image
Open terminal and run:
sudo apt update
sudo apt install -y build-essential dkms linux-headers-$(uname -r)
sudo mkdir /media/cdrom
sudo mount /dev/cdrom /media/cdrom
sudo sh /media/cdrom/VBoxLinuxAdditions.run
sudo reboot
After reboot → Enable Fullscreen Mode
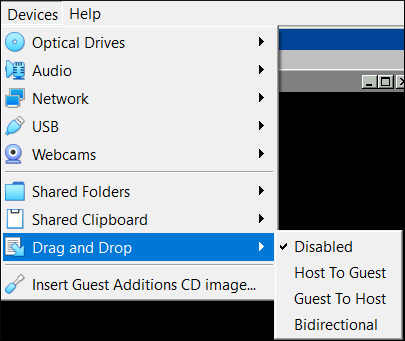
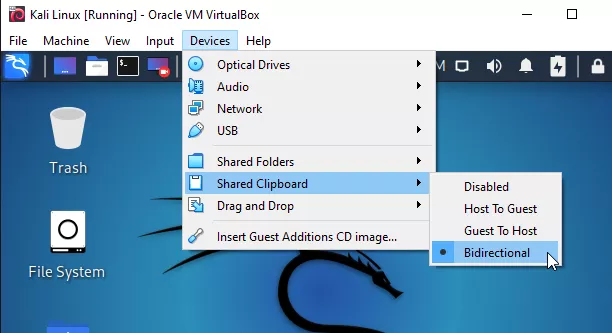
Step 4: Enable Clipboard & Drag-Drop
VM Settings → General → Advanced
Clipboard: Bidirectional
Drag and Drop: Bidirectional
Common Problems & Fixes
1. No 64-bit Option in VirtualBox
Fix
Enable Intel VT-x / AMD-V in BIOS
Disable Hyper-V, WSL, Virtual Machine Platform in Windows Features
2. Kali Black Screen
Fix
Display → Graphics Controller → VMSVGA
Disable 3D Acceleration
3. Internet Not Working
Fix
Network Adapter → NAT
Restart NetworkManager:
sudo systemctl restart NetworkManager
Best Practices After Installation
- Update Kali:
sudo apt update && sudo apt full-upgrade -y
Take VirtualBox snapshots before experiments
Never run attacks outside lab environments
Use platforms like:
TryHackMe
Hack The Box
VulnHub
Final Thoughts
Kali Linux on VirtualBox gives you a clean, controlled, and professional learning environment that mirrors how real-world security teams work, without putting your main system at risk. Once set up properly, this single virtual machine becomes your all-in-one lab for learning Linux, practicing ethical hacking, testing tools, and building real cybersecurity skills step by step. Mastering Kali in a VM also teaches you an important industry habit early, work in isolated environments, take snapshots before experiments, break things safely, and recover fast. If you’re serious about cybersecurity, this setup isn’t optional; it’s the foundation you’ll keep using as you move from beginner labs to advanced, real-world scenarios.


